How To Wire in a Third Party Maglock or Electric StrikeUpdated 5 months ago
Lock Options
Unlike the AutoSlide iLock or MultiDrive, the AutoSwing does not include a lock built into the motor barrel. In order to automatically lock the door closed, a third party lock must be integrated with the system. Options include:
- Electric strikes (hardwired integration)
- Maglocks (hardwired integration)
- Yale smart locks (wireless integration)
- August smart locks (wireless integration)
When installing an AutoSwing onto any door requiring security, or onto an exterior door in an environment with a potentially high pressure differential, the use of one of these options as both a lock and a latch is highly recommended. This article will focus in particular on electric strikes and maglocks.
Both types of hardwired lock connect to the AutoSwing at Port 2 as described in the below sections. Before proceeding, make sure you have the AutoSwing Lock Cable to plug into Port 2. This cable is included by default with all AutoSwing systems.
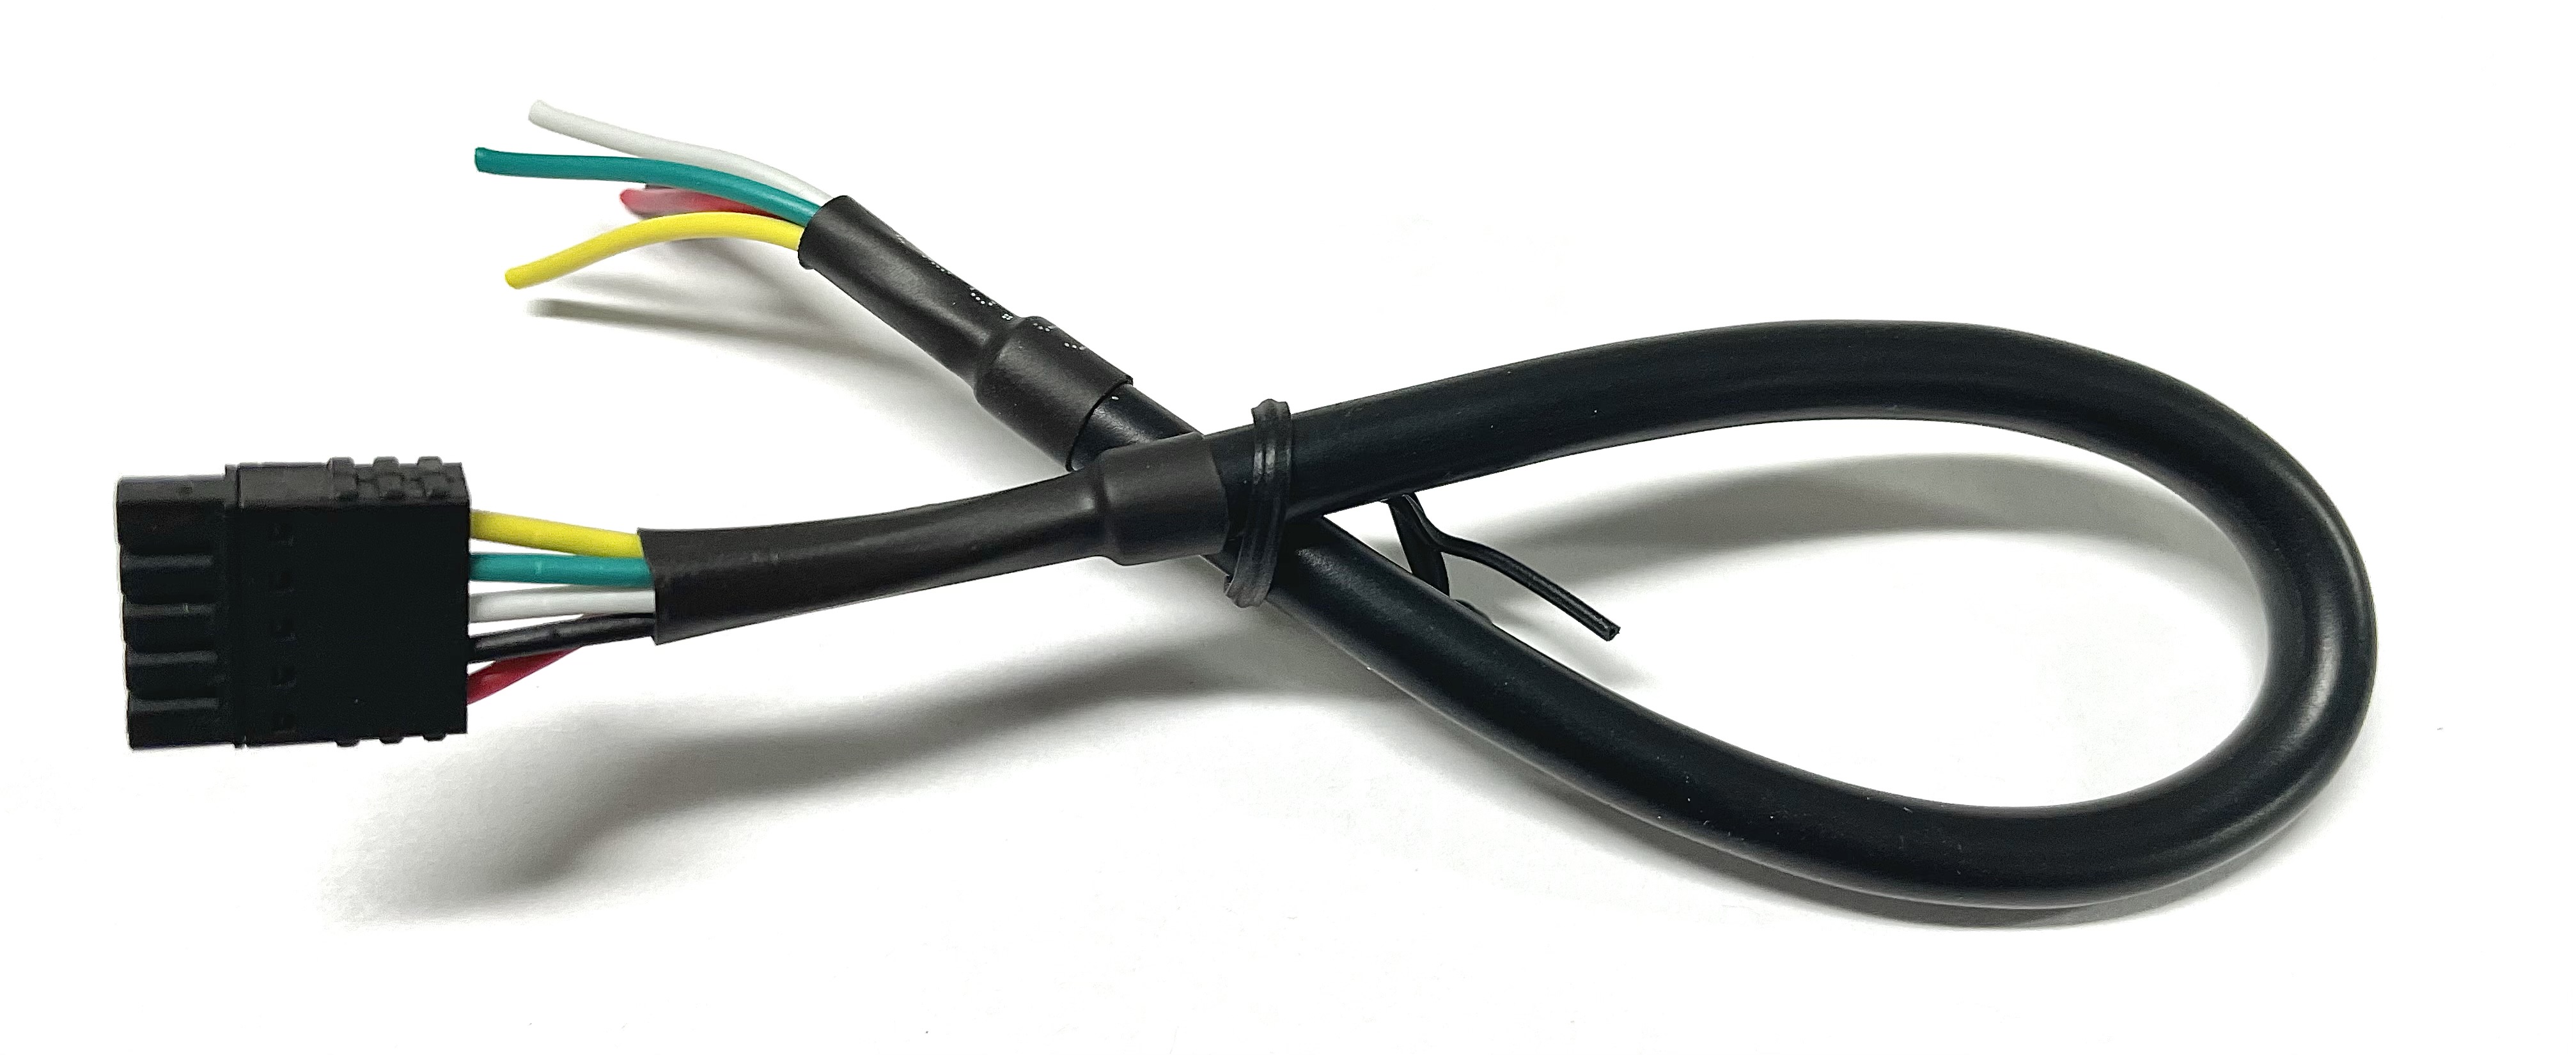 AutoSwing Lock Cable
Electric Strike
An electric strike replaces the fixed strike faceplate often used with a regular door latch. When the door closes, the door latch engages into the electric strike, latching the door closed. When the AutoSwing is activated it triggers the electric strike to open, releasing the door latch and allowing the door to automatically open.
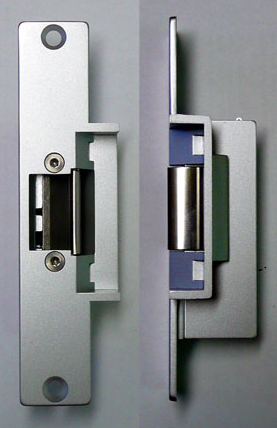 Example of Electric Strike
Note that only 24VDC electric strikes can be used, with a maximum current draw of roughly 230mA. Contact us for recommendations.
Begin with the system powered off. Follow the electric strike's instructions to configure for 24VDC and install. To integrate the electric strike with the AutoSwing, connect the power in and power out wires of the electric strike to the 24V and GND terminals in Port 2 of the AutoSwing system, respectively. Typically, a cable is included with the AutoSwing kit that plugs into Port 2 and terminates in open wires for easy connecting.
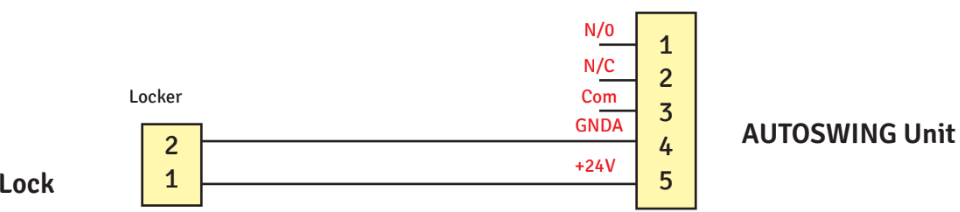 Wiring of Electric Strike to terminals on Port 2
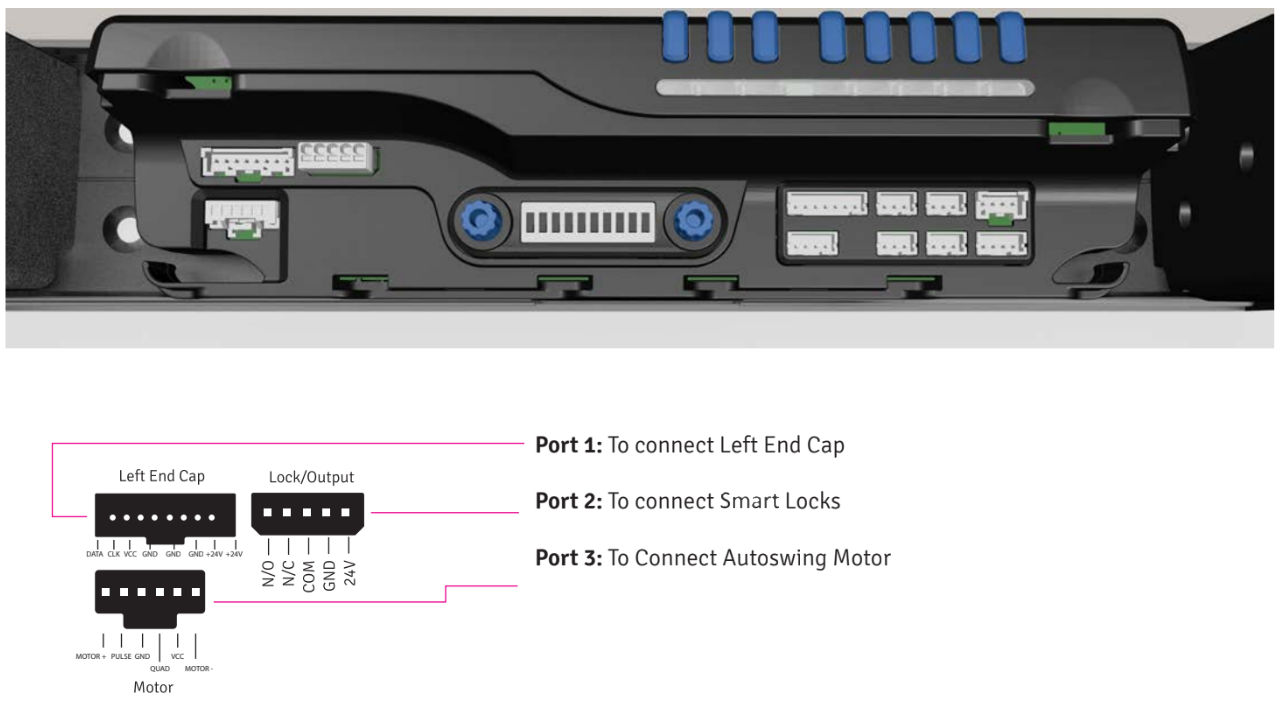 Location of Port 2 on AutoSwing ControllerTurn on DIP switch #3. If using the app (i.e. if DIP switch #6 is on), also be sure to have the app connected and "Use Electric Strike As Lock" turned ON in the app's door settings.
Maglock
A maglock is typically installed at the top of the door, and uses a high powered electromagnet to lock the door shut. When the AutoSwing is closed and in a secure mode, the electromagnet will be active, keeping the door locked. When the AutoSwing is activated, power is cut to the electromagnet - disengaging the magnetic lock and allowing the door to automatically open.
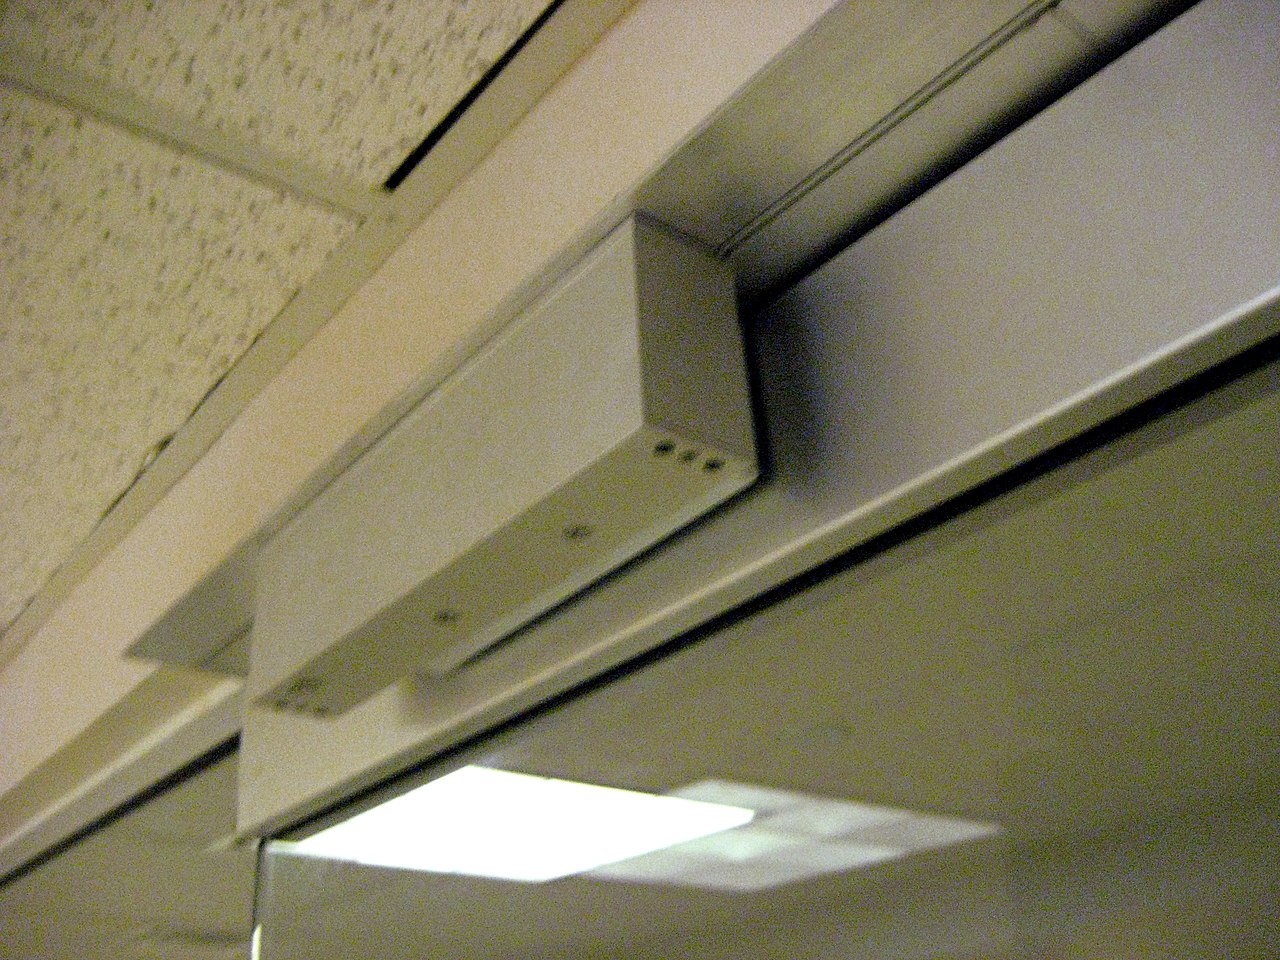 Example of Maglock
Note that only 24VDC maglocks can be used, with a maximum current draw of roughly 230mA. Contact us for recommendations.
Begin with the system powered off. Follow the maglock's instructions to configure for 24VDC and not need an external door sensor, and install. To integrate the maglock with the AutoSwing, connect the power in and power out wires of the maglock to the 24V and GND terminals in Port 2 of the AutoSwing system, respectively. Typically, a cable is included with the AutoSwing kit that plugs into Port 2 and terminates in open wires for easy connecting.
 Wiring of Maglock to terminals on Port 2
 Location of Port 2 on AutoSwing Controller
Turn off DIP switch #3. If using the app (i.e. if DIP switch #6 is on), also be sure to have the app connected and "Use Electric Strike As Lock" turned OFF in the app's door settings.